Convert cardano Bech32 address to stake key

Cardano payment addresses are bech32 encoded since Shelly. These addresses can be decoded in python

from typing import Optional
import bech32
import binascii


def resolve_addr2stake_py(address: str) -> Optional[str]:
    hrp, by = bech32.bech32_decode(address)
    if hrp != 'addr':
        return None
    words = bech32.convertbits(by, 5, 8, False)
    res = ''
    for w in words:
        res = f'{res}{format(w, "x").zfill(2)}'
    mainnet_addr = f'e1{res[-56:]}'
    array = binascii.unhexlify(mainnet_addr)
    words = [x for x in array]
    bech32_words = bech32.convertbits(words, 8, 5)
    bech32_addr = bech32.bech32_encode('stake', bech32_words)
    return bech32_addr

You can confirm this works by

address = 'addr1qxdvcswn0exwc2vjfr6u6f6qndfhmk94xjrt5tztpelyk4yg83zn9d4vrrtzs98lcl5u5q6mv7ngmg829xxvy3g5ydls7c76wu'

resolve_addr2stake_py(address)

Out: 'stake1uxyrc3fjk6kp343gznlu06w2qddk0f5d5r4znrxzg52zxlclk0hlq'


Running a Terminal on Synology

Sometimes the only machine you can access is your synology drive, assuming you have setup remote access (on quickconnect.to).

There is no built in terminal on synology web, but there is docker. Having docker means you can run any image, and have a machine there.

  1. Go to Registry, search for Debian and download it (latest is fine).
  2. Go to Image, click on Ubuntu and press on Launch. Click Next through the whole process (it’s fine to just choose the defaults).
  3. Once the image is running, go to Container, click the container name (should be e.g, debian1) and click Details.
  4. There should be a tab there called Terminal that will drop you in a terminal in the container.
  5. Run `apt update` and `apt install ssh` to get an ssh client (assuming you want to SSH) or do whatever else you need a terminal for.

This may be a life saver if your machines on the network are somehow down and not reconnecting to its vpn or wrongly configured firewall.

Convert Cardano Wallet Address to Stake Address Key

If someone provides me with a payment address, how can I derive the staking address from the payment address?

Cardano uses bech32. Install bech32 instead and decode/encode the address.

Download the bech32 tool as part of cardano-wallet from github

wget https://github.com/input-output-hk/cardano-wallet/releases/download/v2022-12-14/cardano-wallet-v2022-12-14-linux64.tar.gz
# or if on mac
https://github.com/input-output-hk/cardano-wallet/releases/download/v2022-12-14/cardano-wallet-v2022-12-14-macos-intel.tar.gz

tar -xf cardano-wallet-v2022-12-14-linux64.tar.gz
rm cardano-wallet-v2022-12-14-linux64.tar.gz
cd cardano-wallet-v2022-12-14-linux64
./bech32

Let’s say you have address

$ set addr addr1q9f2prypgqkrmr5497d8ujl4s4qu9hx0w6kruspdkjyudc2xjgcagrdn0jxnf47yd96p7zdpfzny30l2jh5u5vwurxasjwukdr
$ echo "e1$(echo $addr | ./bech32 | tail -c 57)" | ./bech32 stake
stake1u9rfyvw5pkeherf56lzxjaqlpxs53fjghl4ft6w2x8wpnwchfeam3

If you wanted to do the equivalent in python:

def resolve_addr2stake(address: str) -> str:
    """
     same as 'echo "e1$(echo {address} | ./bech32 | tail -c 57)" |./bech32 stake'
     It may be quicker to cache the address, result in a lookup table
    :param address: wallet address, such as
    addr1qxdvcswn0exwc2vjfr6u6f6qndfhmk94xjrt5tztpelyk4yg83zn9d4vrrtzs98lcl5u5q6mv7ngmg829xxvy3g5ydls7c76wu
    to
    019acc41d37e4cec299248f5cd27409b537dd8b53486ba2c4b0e7e4b54883c4532b6ac18d62814ffc7e9ca035b67a68da0ea298cc24514237f
    then last 56 bytes
    883c4532b6ac18d62814ffc7e9ca035b67a68da0ea298cc24514237f
    then convert to bech32
    stake1uxyrc3fjk6kp343gznlu06w2qddk0f5d5r4znrxzg52zxlclk0hlq

    :return: stake key, such as
    stake1uxyrc3fjk6kp343gznlu06w2qddk0f5d5r4znrxzg52zxlclk0hlq
    """
    absolute_path = os.path.dirname(__file__)
    relative_path = "cardano-wallet/bech32"
    full_path = os.path.join(absolute_path, relative_path)

    p1 = subprocess.Popen(["echo", address], stdout=subprocess.PIPE)
    p2 = subprocess.run([full_path], stdin=p1.stdout, capture_output=True)
    s = p2.stdout.strip().decode('utf-8')
    p3 = subprocess.Popen(["echo", f"e1{s[-56:]}"], stdout=subprocess.PIPE)
    p4 = subprocess.run([full_path, 'stake'], stdin=p3.stdout, capture_output=True)
    return p4.stdout.strip().decode('utf-8')

Update: There is a better way with direct python code, no need for the command line sys calls.

See this post https://sunapi386.ca/wordpress/convert-cardano-bech32-address-to-stake-key/

ubuntu 22.04 assign ethernet static ip

Some routers don’t have a DHCP reservation feature, such as the Bell Home Hub 3000, Home Hub 4000, Giga Hub. These models do allow for setting a reserved DHCP range. E.g.

Assign IP from 20 and up. That leaves 2-19 free to use.

On Ubuntu 22.04, the plan is:

Install netplan.io apt install netplan.io

Verify the cable is actually connected using ip link

n# ip link
1: lo: <LOOPBACK,UP,LOWER_UP> mtu 65536 qdisc noqueue state UNKNOWN mode DEFAULT group default qlen 1000
    link/loopback 00:00:00:00:00:00 brd 00:00:00:00:00:00
2: enp3s0: <NO-CARRIER,BROADCAST,MULTICAST,UP> mtu 1500 qdisc fq_codel state DOWN mode DEFAULT group default qlen 1000
    link/ether 1c:83:41:29:5e:69 brd ff:ff:ff:ff:ff:ff
3: enp4s0: <BROADCAST,MULTICAST,UP,LOWER_UP> mtu 1500 qdisc fq_codel state UP mode DEFAULT group default qlen 1000
    link/ether 1c:83:41:29:5e:6a brd ff:ff:ff:ff:ff:ff
4: wlp2s0: <BROADCAST,MULTICAST,UP,LOWER_UP> mtu 1500 qdisc noqueue state UP mode DORMANT group default qlen 1000
    link/ether 70:cf:49:9d:93:79 brd ff:ff:ff:ff:ff:ff

Seeing LOWER_UP means the data link layer is connected. Seeing UP means IP layer is also established.

Create configuration for the interface

/etc/netplan/01-network-manager-all.yaml

# /etc/netplan/01-network-manager-all.yaml
# Let NetworkManager manage all devices on this system
network:
  version: 2
  renderer: NetworkManager
  ethernets:
    enp4s0:
      addresses:
        - 192.168.2.5/32
      routes:
        - to: default
          via: 192.168.2.1
      nameservers:
        addresses: [192.168.2.1, 1.1.1.1]

Here, I wanted 192.168.2.5 for the static IP.

Apply (restart) interface

netplan apply

Verify IP

Can use landscape-sysinfo or ip address

ubuntu 22.04 split dns with systemd-resolved (resolvectl)

Let’s say we have our own dns server (e.g. with dnsmasq) 10.7.0.1 – and we have some internal domains, such as something ending in sf that we aim to resolve at that machine, we can edit vi /etc/systemd/resolved.conf to add

DNS=8.8.8.8
FallbackDNS=10.7.0.1

This way we can resolve by default with 8.8.8.8 and use the fallback if it cannot resolve. After modifying this file, systemctl restart systemd-resolved to restart the service.

root@host # resolvectl
Global
           Protocols: -LLMNR -mDNS -DNSOverTLS DNSSEC=no/unsupported
    resolv.conf mode: foreign
         DNS Servers: 1.1.1.1 8.8.8.8
Fallback DNS Servers: 10.7.0.1

Also

resolvectl dns interface 10.7.0.1
resolvectl domain interface ds

to add the dns for your vpn device. Where interface is the vpn interface such as wireguard. E.g.

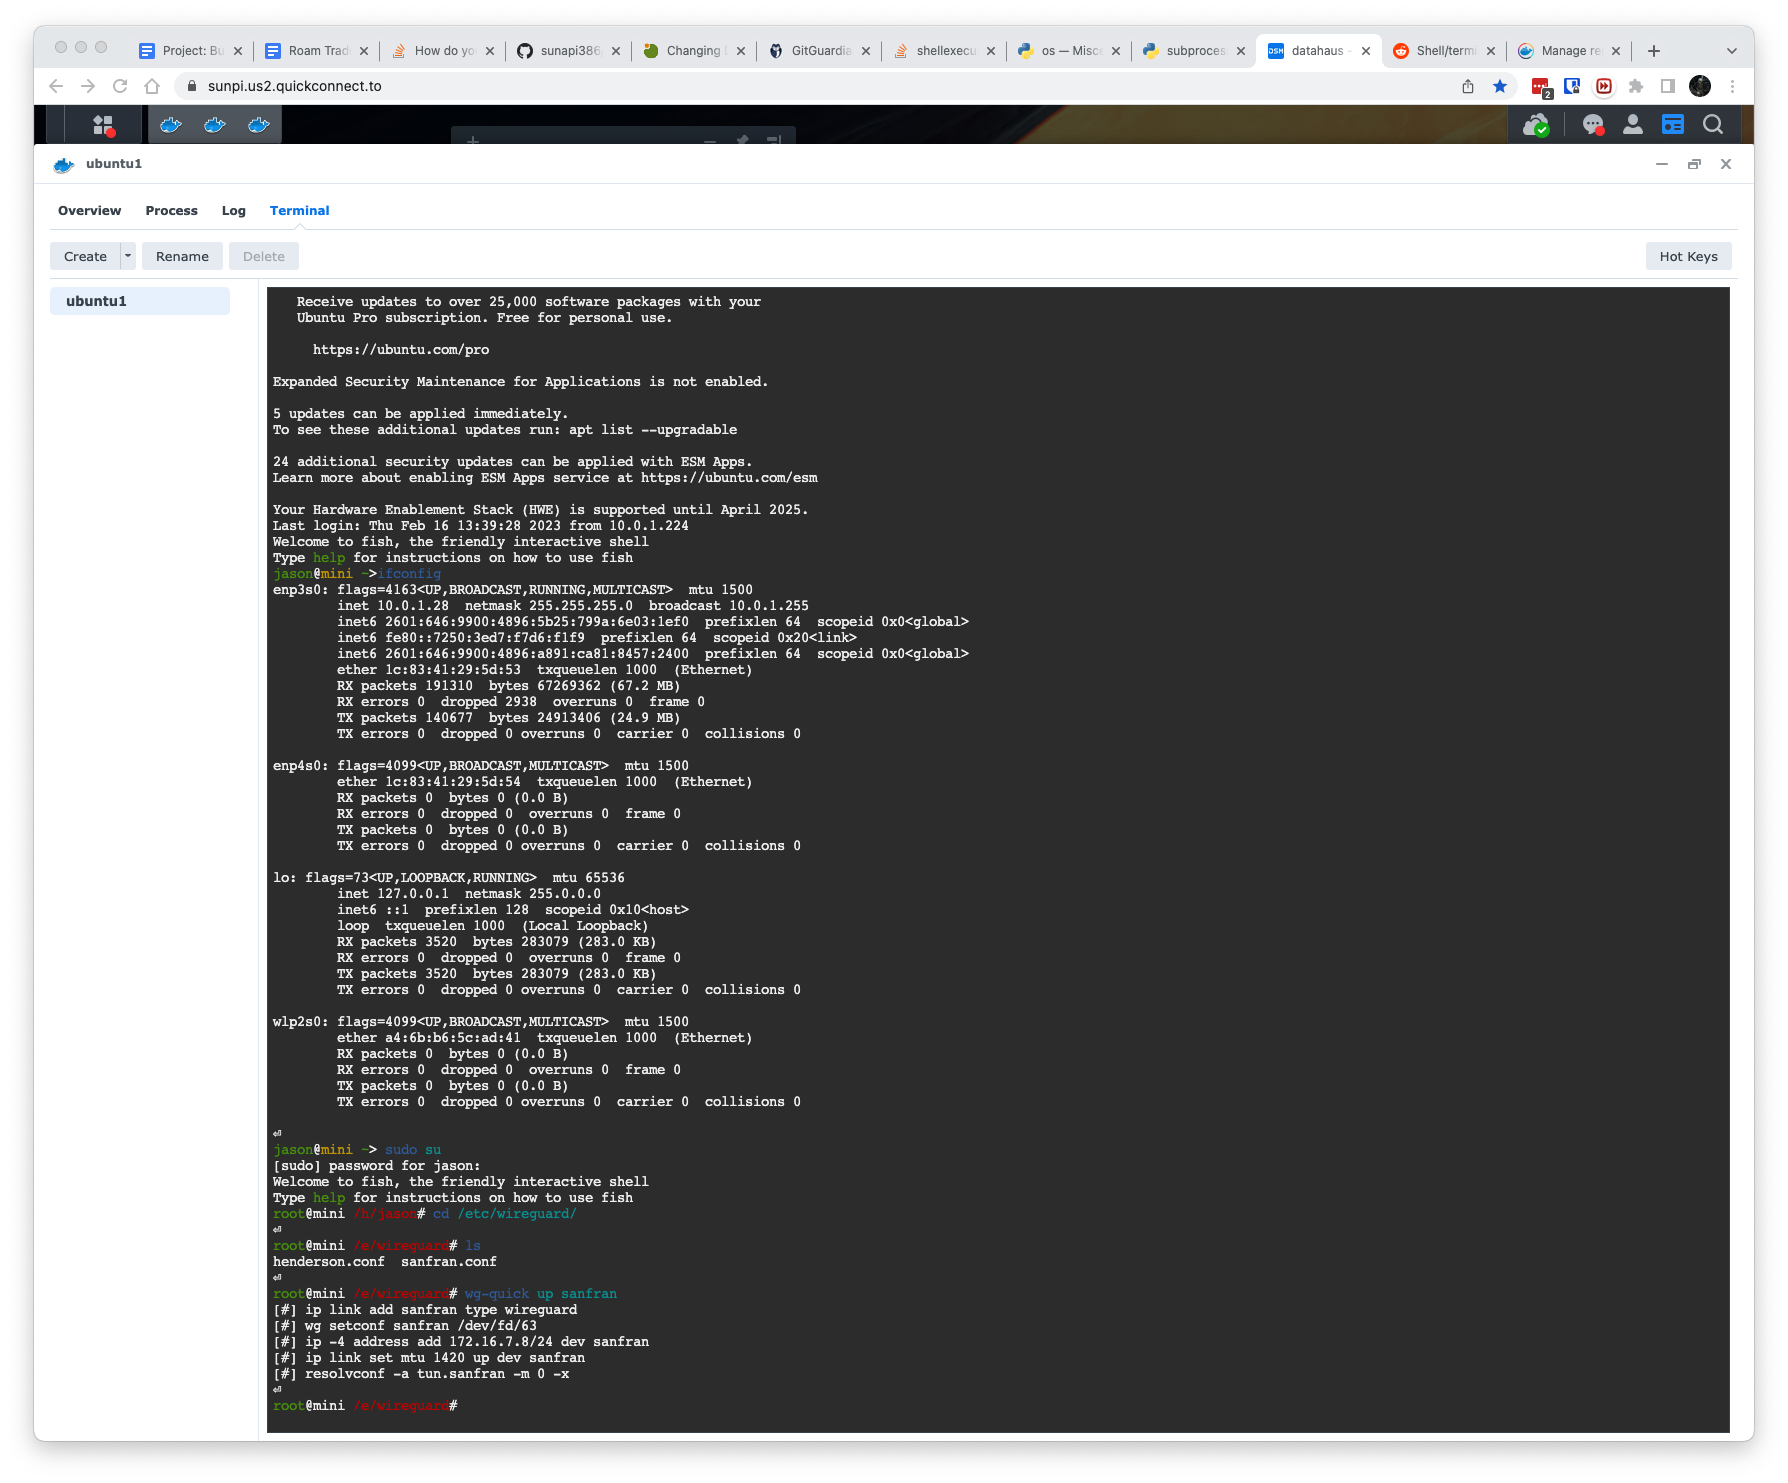
root@henderson /h/jason# resolvectl
Global
           Protocols: -LLMNR -mDNS -DNSOverTLS DNSSEC=no/unsupported
    resolv.conf mode: foreign
  Current DNS Server: 192.168.2.1
         DNS Servers: 192.168.2.1
Fallback DNS Servers: 10.7.0.1

[...omitted...]

Link 8 (interface)
Current Scopes: DNS
     Protocols: +DefaultRoute +LLMNR -mDNS -DNSOverTLS DNSSEC=no/unsupported
   DNS Servers: 10.7.0.1
    DNS Domain: ds

Now you can ping something that resolves internal corporate VPN only, such as

root@host # ping google.com
PING google.com (172.217.13.142) 56(84) bytes of data.
64 bytes from yul02s05-in-f14.1e100.net (172.217.13.142): icmp_seq=1 ttl=117 time=14.0 ms

root@host # ping glassbox.ds
PING glassbox.ds (10.7.0.1) 56(84) bytes of data.
64 bytes from 10.7.0.1 (10.7.0.1): icmp_seq=1 ttl=64 time=84.3 ms

This shows that the internal address works as well as public address. Note that the google DNS resolves to the closest server.

Be aware

In vi /etc/resolv.conf

This file may override your config. Verify that nameserver 127.0.0.53 is listed in this file.

Sometimes after reboot I find this file has been modified. I am still investigating the cause. Edit: ah found the cause. https://rakhesh.com/linux-bsd/wireguard-search-domain/ This seems to indicate Wireguard config file can specify the DNS search domains. From the man-page:

DNS — a comma-separated list of IP (v4 or v6) addresses to be set as the interface’s DNS servers, or non-IP hostnames to be set as the interface’s DNS search domains. May be specified multiple times. Upon bringing the interface up, this runs ‘resolvconf -a tun.INTERFACE -m 0 -x‘ and upon bringing it down, this runs ‘resolvconf -d tun.INTERFACE‘. If these particular invocations of resolvconf(8) are undesirable, the PostUp and PostDown keys below may be used instead.

Thus you could have the following line:

DNS = 10.7.0.1, ds

And it is wireguard that is modifying /etc/resolv.conf

After modifying this line,

root@host # cat /etc/resolv.conf
# Dynamic resolv.conf(5) file for glibc resolver(3) generated by resolvconf(8)
#     DO NOT EDIT THIS FILE BY HAND -- YOUR CHANGES WILL BE OVERWRITTEN
# 127.0.0.53 is the systemd-resolved stub resolver.
# run "systemd-resolve --status" to see details about the actual nameservers.

nameserver 10.7.0.1
nameserver 127.0.0.53
search ds home

Persist

Remember this?

resolvectl dns interface 10.7.0.1
resolvectl domain interface ds

In order to persist this, it seems we need to make the .network file and specify the domain to resolve there. Then I want to make my main interface resolve the rest of the domains.

enp4s0.network  interface.network
root@henderson /e/s/network# pwd
/etc/systemd/network
root@henderson /e/s/network# cat interface.network 
[Match]
Name=interface

[Network]
DNS=10.7.0.1
Domains=ds

root@henderson /e/s/network# cat enp4s0.network 
[Match]
Name=enp4s0

[Network]
DNS=192.168.2.1